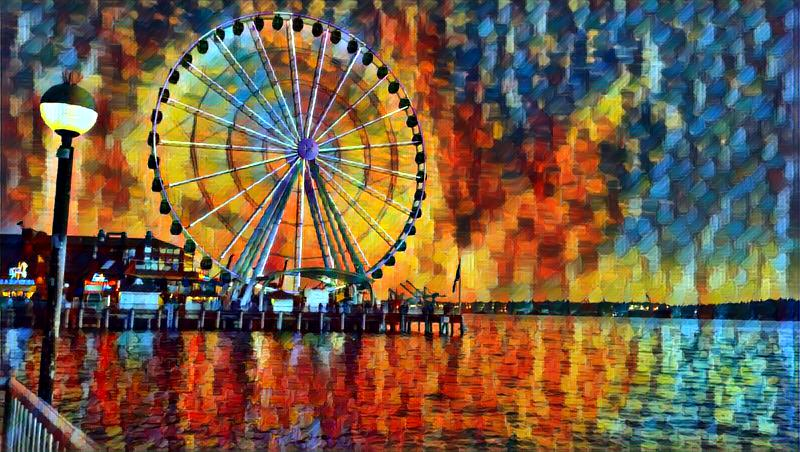
In 2015, a research paper by Gatys, Ecker and Bethge posited that you could use a deep neural network to apply the artistic style of a painting to an existing image and get amazing results, as though the artist had rendered the image in question.
Soon after, a terrific and fun app was released to the app store called Prisma, which lets you do this on your phone.
How do they work?
There’s a comprehensive explanation of two different methods of Neural Style Transfer here on Medium; I won’t attempt to reproduce the explanation here, because he does such a thorough job. The author, Subhang Desai, explains that there are two basic approaches, the slow “optimization forward” approach (2015) and the much faster “feedforward” approach where styles are precomputed (2016.)
On the first “straightforward” approach, there are two main projects that I’ve found — one based on Pytorch and one based on Tensorflow. Frankly, I found the Pytorch-based project insanely difficult to configure on a Windows machine (I also tried on a Mac) — so many missing libraries and things that had to be compiled. The project was originally built for specific Linux-based configurations and made a lot of assumptions about how to get the local machine up and running.
But the second project (the one linked above) is based on Google’s Tensorflow library, and is much easier to set up, though from Github message board comments I conclude it’s quite a bit slower than the Pytorch-based project.
On-the-fly “Optimization” Approach
As Desai explains, the most straightforward approach is to do an on-the-fly paired learning of two images — the style image and the photograph.
The neural network learning algorithm pay attention to two loss scores, which it mathematically tries to minimize by adjusting weights:
- (a) How close the generated image is to the style of the artist, and
- (b) How close the generated image is to the original photograph.
In this way, by iterating multiple times over newly generated images, the code generates images that are similar to both the artistic style and the original image — that is, it renders details of the photograph in the “style” of the image.
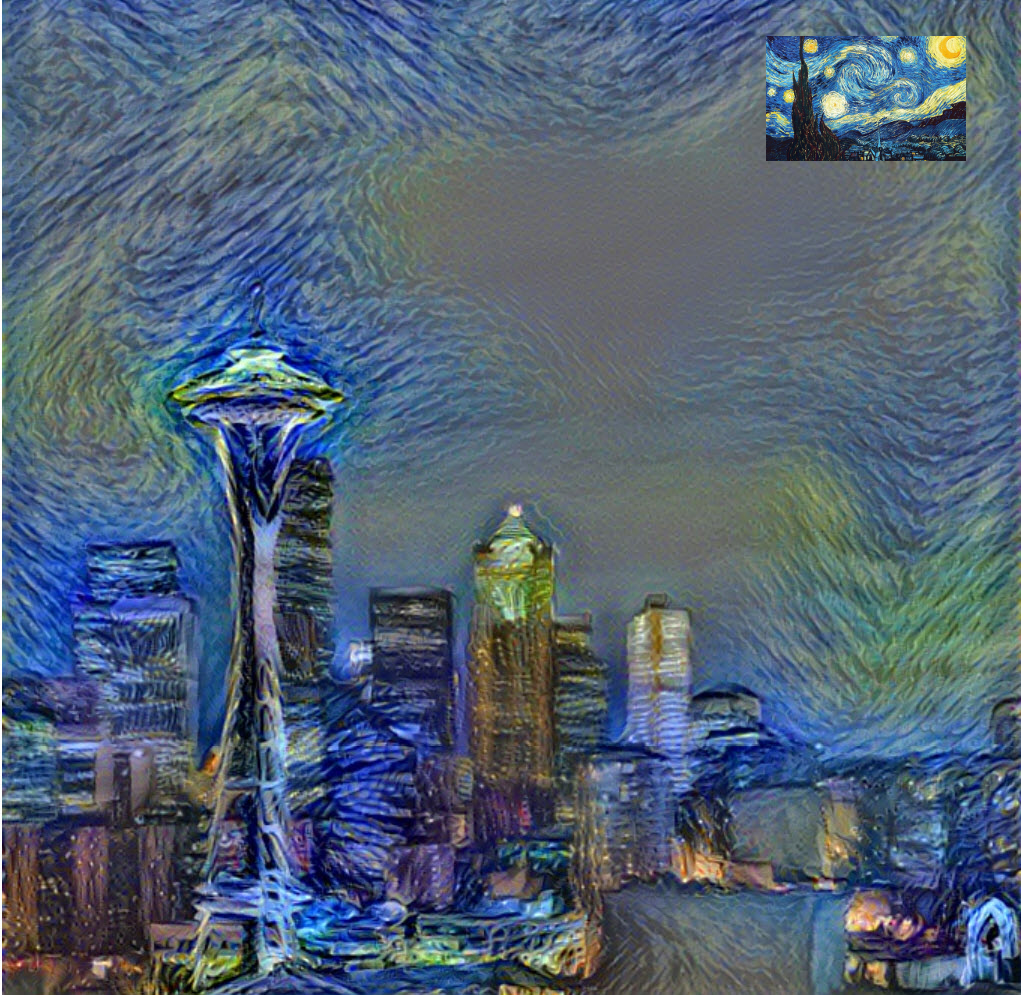
I can confirm that this “optimization” approach — iterating through images takes a longtime. To get reasonable results, it took about 500+ iterations. The example image below took 1 hour and 23 minutes to render on a very fast CPU equipped with a 6Gb NVIDIA Titan 780 GPU.
I’ve used the neural-style transfer Tensorflow code written by Anish Athalye to transform this photo:
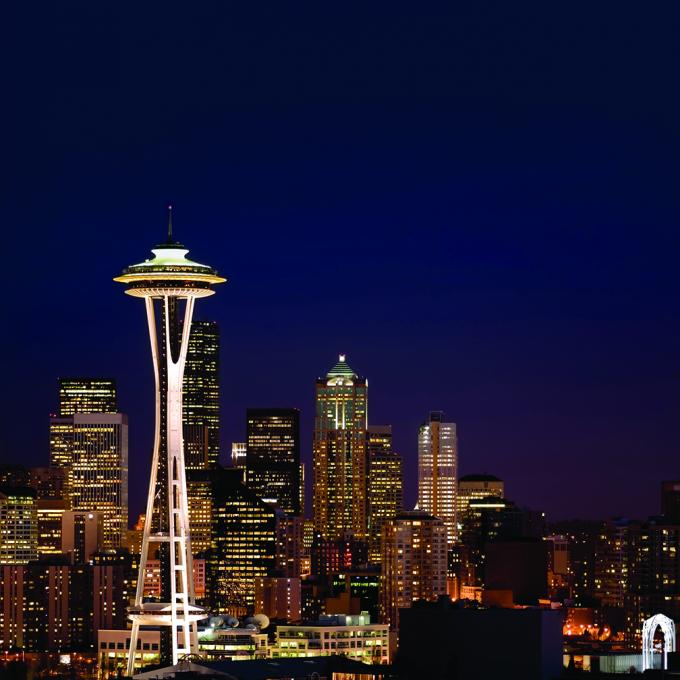
…and this artistic style:
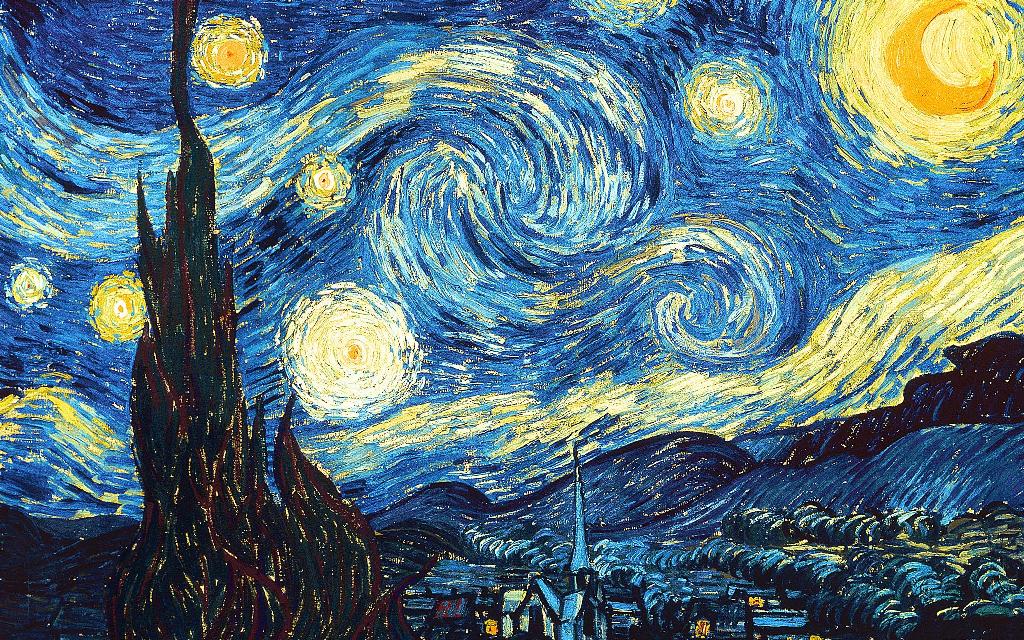
…and, with 1,000 iterations, it renders this:
Faster “Feedforward” Precompute-the-Style Approach
The second and much faster approach is to precompute the filter based on artist styles (paper). That appears to be the way that Prisma works, since it’s a whole lot faster.
I’ve managed to get Pytorch installed and configured properly, and don’t need any of the luarocks dependencies and hassle of the main Torch library. In fact, a fast_neural_style transfer example is available via the Pytorch install, in the examples directory.
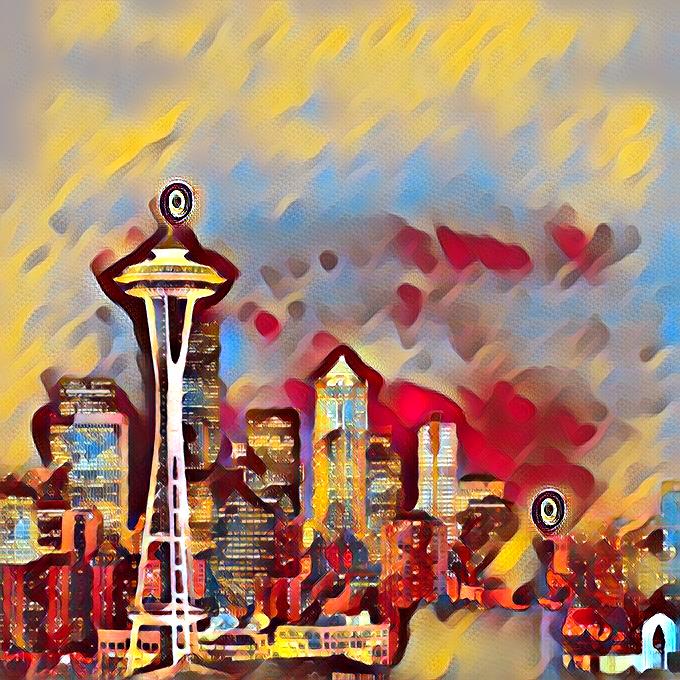
Wow! It worked in about 10 seconds (on Windows)!
Applying the image with the “Candy” artistic style rendered this image:
Here’s a Mosaic render:
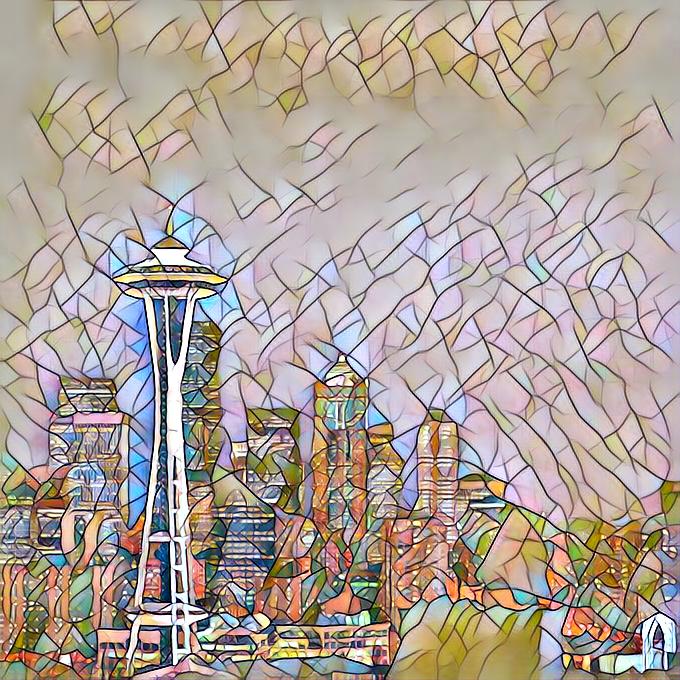
…also took about 5 seconds or so. Amazing. The pre-trained model is so much faster! But on Windows, I had a devil of a time trying to get the actual training of new style models working.
Training New Models (new Artist Styles)
This whole project (as well as other deep learning and data science projects) inspired me to get a working Ubuntu setup going. After a couple hours, I’ve successfully gotten an Ubuntu 18.04 setup, and I’m dual-booting my desktop machine.
The deep learning community and libraries are mostly Linux-first.
After setting up Ubuntu on an NVIDIA-powered machine, installing PyTorch and various libraries, I can now run the faster version of this neural encoding.
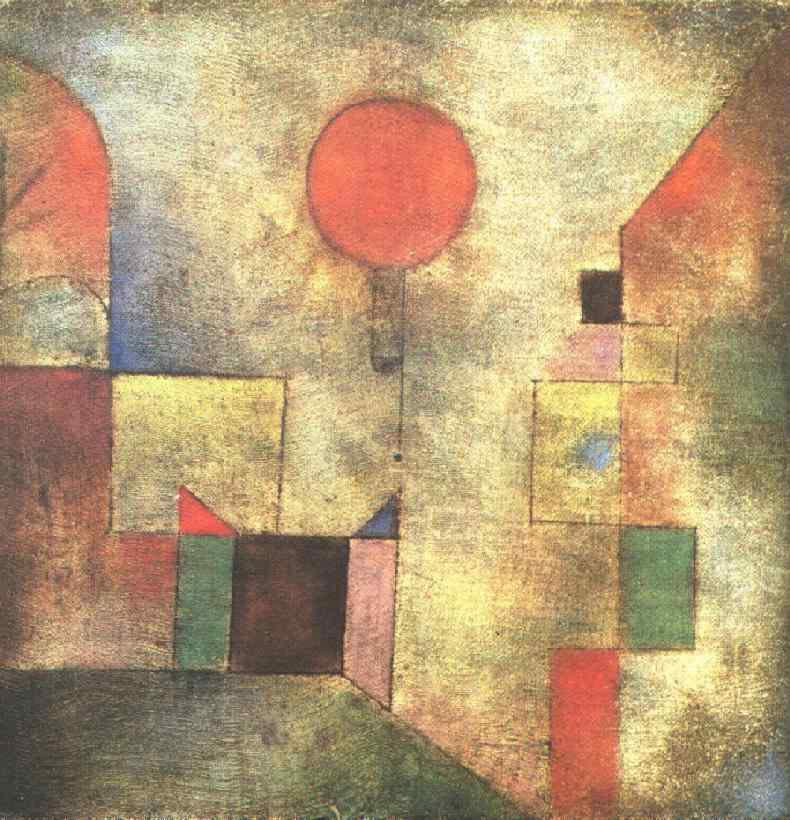
Training “Red Balloon” by Paul Klee
To train a new model, you have to take a massive set of input training images, a “style” painting, and you tell the script to effectively “learn the style”. This iteratively tries to minimize the weighted losses between the original input image and output image and the “style” image and the output image.
During the training of new models (by default, two “epochs”, or iterations through the image dataset), you can see the loss score for content and style (as well as a weighted total). Notice that the total is declining on the right — the result of the training using gradient-descent in successive iterations to minimize the overall loss.

I had to install CUDA, which is the machine learning parallel processing library written by the clever folks at NVIDIA. This allows tensor code (matrix math) to be parallelized, harnessing the incredible power of the GPU, dramatically speeding up the process. So far, CUDA is the de-facto “machine learning for the masses” GPU library; none of the other major graphics chip makers have widely used libraries.
Amazingly, once you have a trained artist-style model — which took about 3.5 hours per input style on my machine — each rendered image in the “style” of an artist takes about a second to render, as you can see in the demo video below. Cool!
For instance, I’ve “trained” the algorithm to learn the following style (Paul Klee’s Red Balloon):
And now, I can take any input image — say, this photo of the Space Needle:
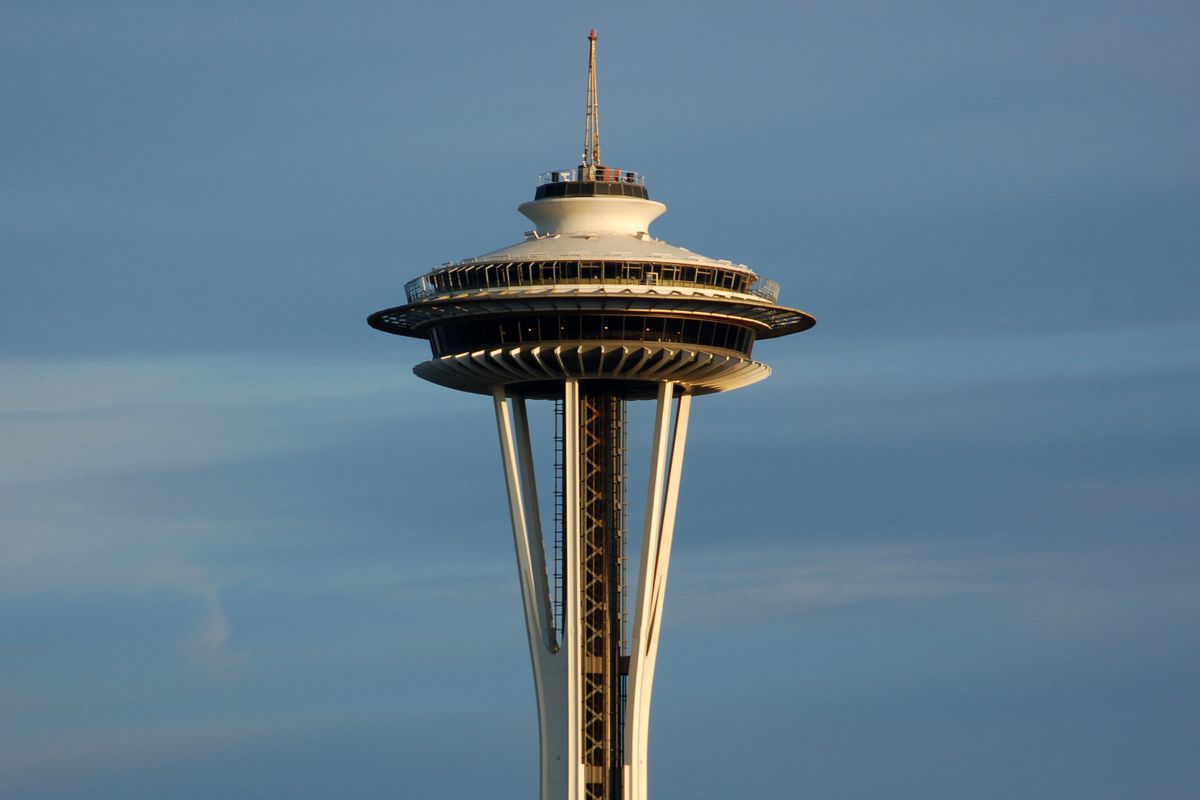
And run it through the pytorch-based script, and get the following output image:
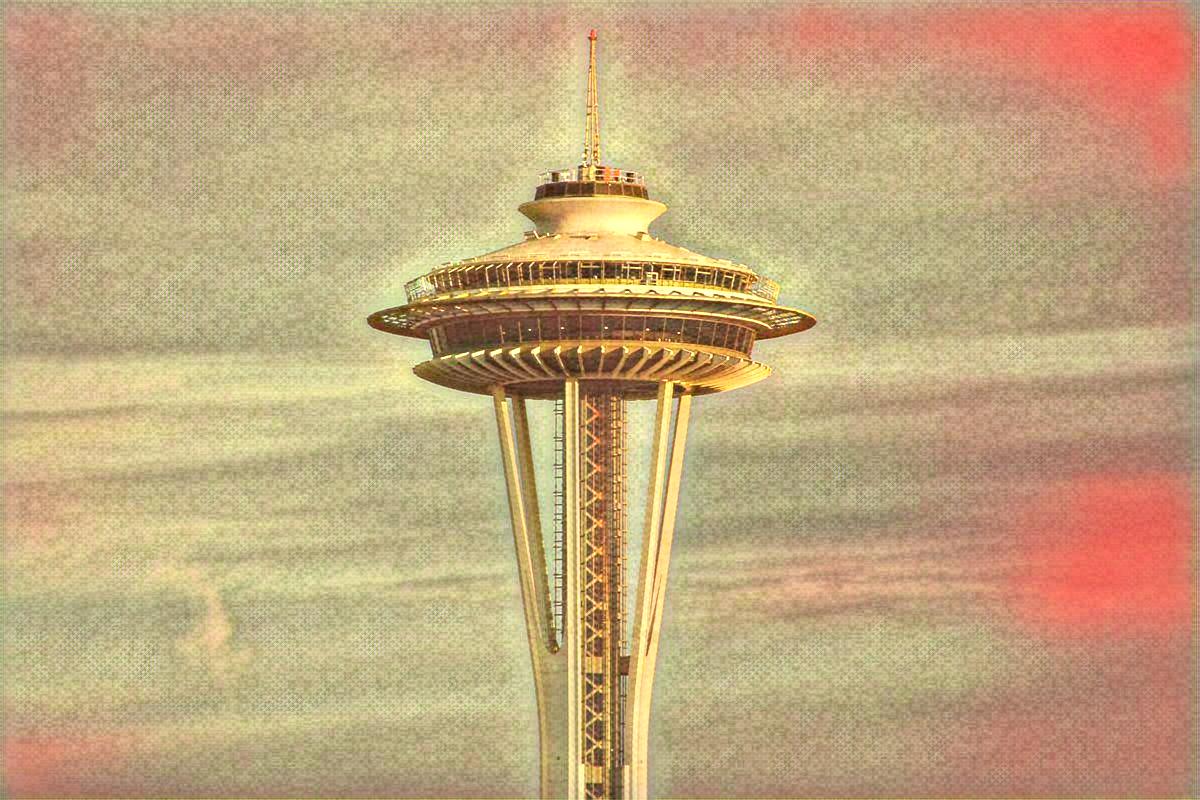
Total time:
(One-time) Model training learning the “Paul Klee Red Balloon Style”: 3.4 hours
Application of Space Needle Transform: ~1 second
Another Example
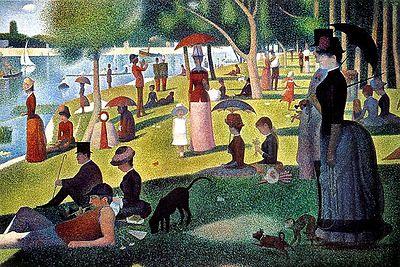
Learning from this style:
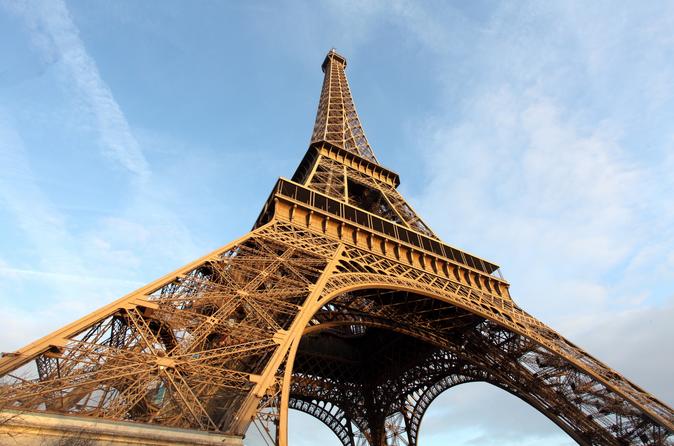
rendering the Eiffel Tower:
looks like this:
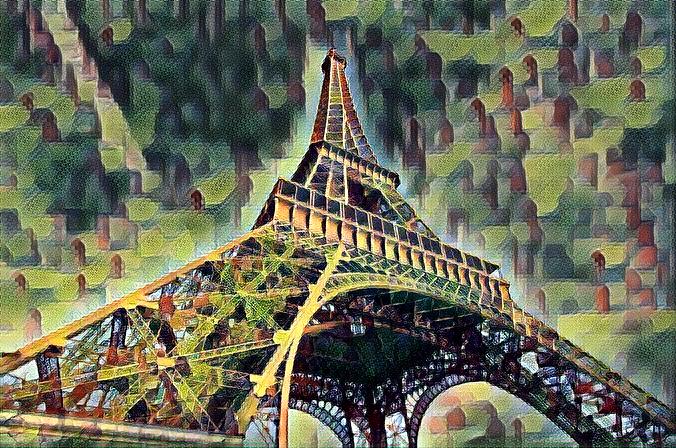
Training the Seurrat artist model took about 2.4 hours, but once done, it took about 2 seconds to render that stylized Eiffel Tower image.
I built a simple test harness in Angular with a Flask (Python) back-end to demonstrate these new trained models, and a bash script to let me train new models from images in a fairly hands-off way.
Note how fast the rendering is once the model is complete. Each image is generated on the fly from a Python-powered API based on a learned model, and the final images are not pre-cached:
Really very cool!
original image:
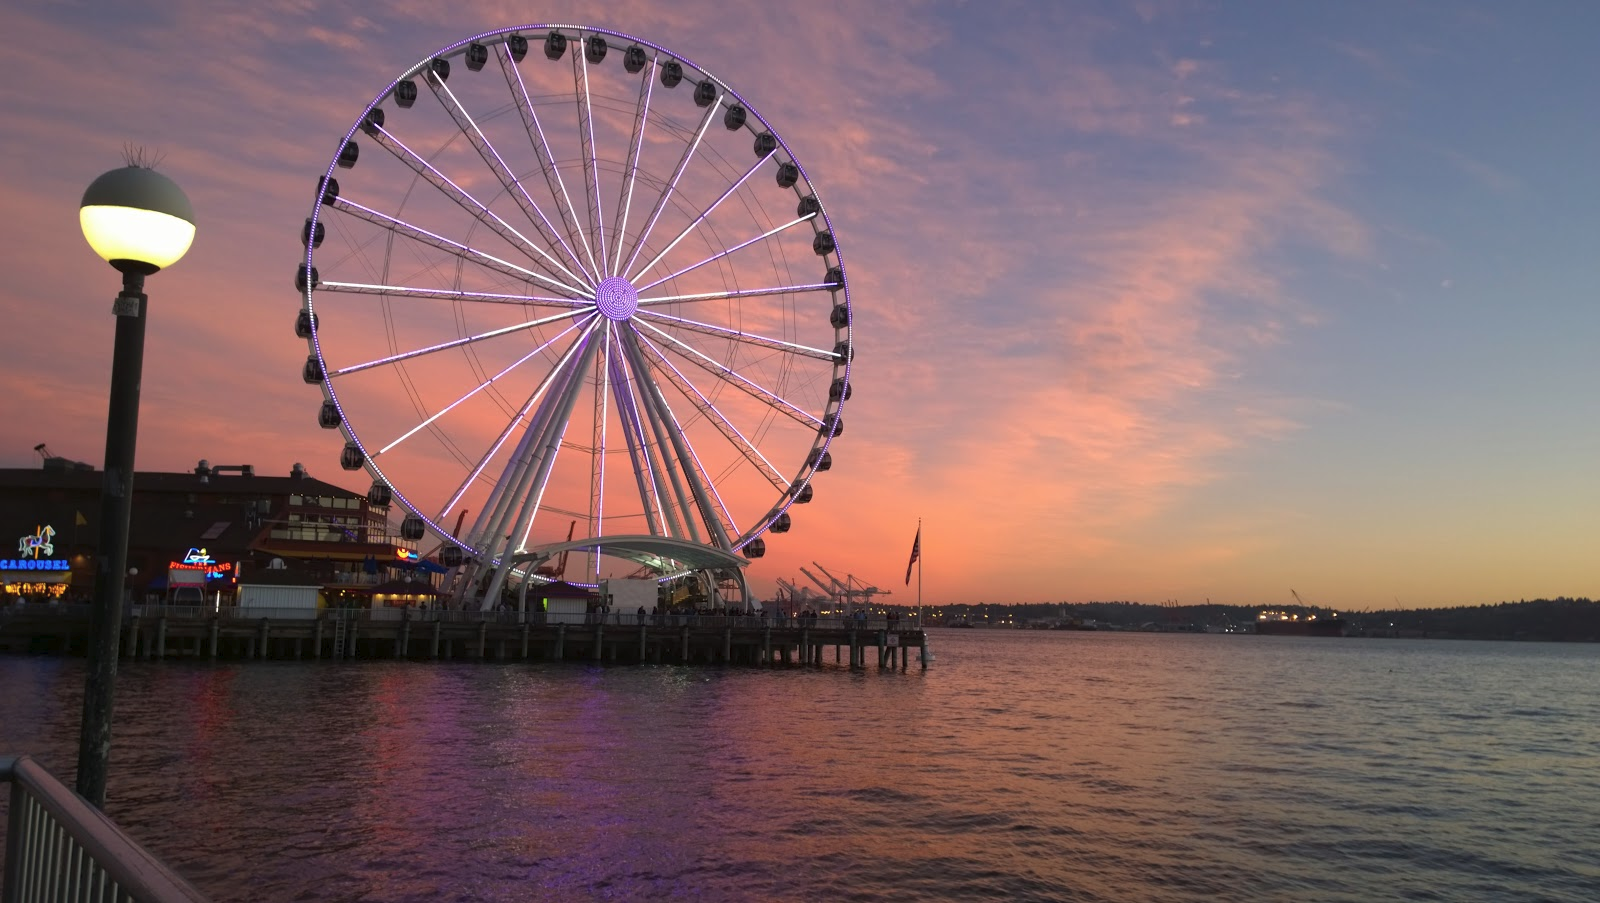
style:

Output Image:
