This spring, I asked my 21-year-old son, “What’s one thing you want to do this summer?”
“Packrafting,” he said.
I hadn’t heard that term before. At first, I thought he meant whitewater rafting. But packrafting is different.
A “packraft” is a special watercraft that packs-up small enough to carry in a backpack. They’re versatile, durable, relatively compact, and ultralight. Don’t get it confused with an inflatable kayak; a packraft is purpose-built to be carried in a pack. A packraft isn’t the same as a “whitewater raft.” There are even specializations within packrafts — there are vessels for canyoneering, for whitewater, or for alpine lake exploration.
How does it work?
The concept of packrafting is simple. You go on a hike, but you carry an ultralight raft (rolled up), paddles (usually in 4 parts, dissembled), a life vest, plus all the regular provisions like a tent, sleeping bag or quilt, food and water… on a trail. In our case, we fit the rafts in our backpack, the collapsed paddles in the outer pockets, and we strapped a lightweight personal flotation device (PFD) onto the pack via carabiners.
Packrafts themselves can carry you and your belongings to the next location on the trail in two different ways: you can carry your stuff on your raft or in your raft, inside the inflatable exterior tubing.
Inflating the rafts is simple. You unroll it on a flat area, put whatever gear you want inside the tubing, inflate it about 70-80% of the way, then you inflate the insertable seat about 70% of the way. Then, you clip the seat into the kayak, and finally, inflate them each to your preference.
Unless you’re really going for absolute minimum weight, I highly recommend you bring a rechargeable, portable inflator for the job; there is a LOT of air that needs to go into these rafts. This little unit below took care of the work in about 10 minutes.

Manual inflator bags also work, but they’re much more effort.
Being first-timers, we went with an outfitter — the friendly and very capable folks at Optimum Adventures of Seattle, WA. Adam, our trip leader, took care of the equipment; we arrived at the trailhead and he had the packs all ready to go. We simply added our overnight provisions and we were off.
The packrafts we carried were provided by Optimum and made by Alpacka Raft. These were extremely high quality, made of very durable, lightweight nylon material, weighing in at about 5.5 lbs. The paddles we carried added another 31 oz., i.e., just shy of two more lbs. Adding in the ultralight life vest, and we were around 8 lbs, all-in, to make us hikers water-transit-capable.
And that’s what it was about for us — options. A packraft gives the hiker options.
Our Trip
Last Sunday, after the Mariners game, my son and I headed out to Mt. Baker National Forest.
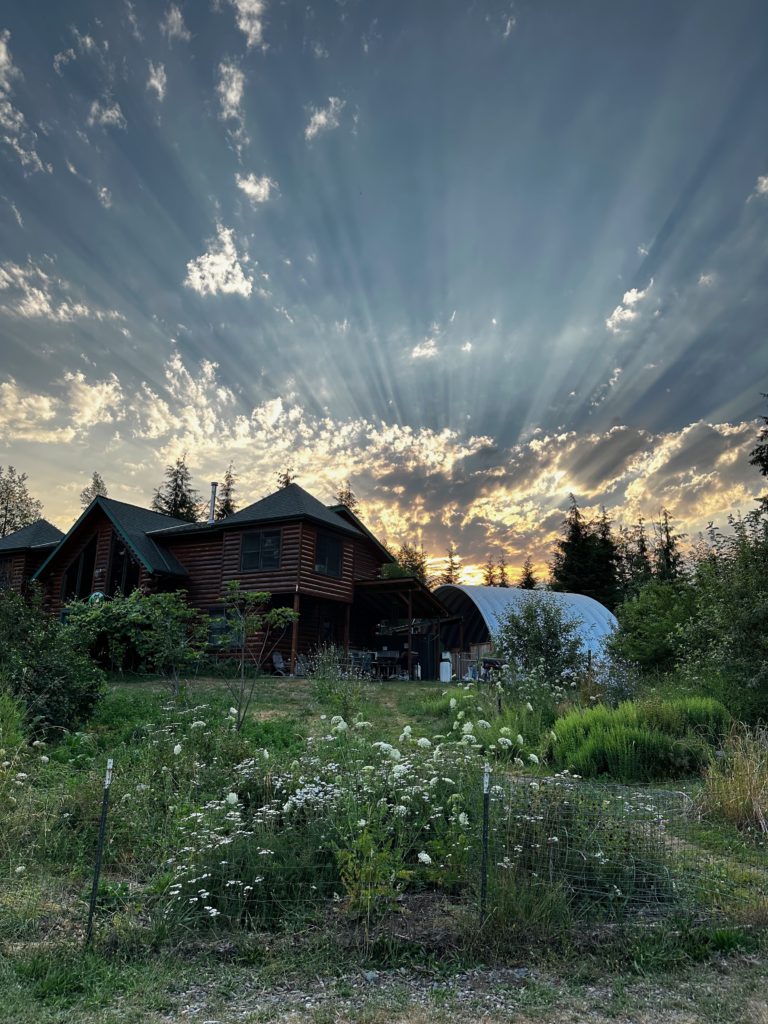
To get an early start at the trailhead, we decided to car-camp the night before at the nearby Alpaca Pride Guest Ranch, where we were treated to this beautiful sunset:
The next morning, we drove to the trailhead. We donned our packs and began the hike. It was five miles up the trail, through groves of alder, cedar and hemlock… then past a river and waterfall, to the summit. There, we set up camp, and ventured out onto the lake in our rafts.
Packrafting combines the thrill of hiking and rafting into a single adventure, offering unique experiences in remote locations. Here are the top five tips for a successful packrafting trip:
Five Tips for a Successful Packrafting Adventure
1. Choose the Right Packraft and Gear
- Packraft: Select a packraft that suits your needs, whether it’s for whitewater, lakes, or multi-day expeditions. Lightweight models are better for long hikes, while sturdier ones handle rough waters.
- Paddle: Opt for a collapsible paddle that’s easy to pack and light to carry. Four-piece paddles are a popular choice.
- PFD (Personal Flotation Device): Always wear a high-quality PFD for safety.
- Dry Bags: Use waterproof dry bags to protect your gear and keep essentials dry. Double-bagging sensitive items like electronics is advisable.
- For us, this was all taken care of by Adam at Optimum Adventures.
2. Plan and Research Your Route
- Water Conditions: Check the water levels, flow rates, and potential hazards (e.g., rapids, waterfalls) on your intended route.
- Terrain: Research the terrain you’ll be hiking through and the entry/exit points for your packraft.
- Weather: Monitor weather forecasts for both the hiking and paddling portions of your trip, as conditions can change rapidly.
3. Learn and Practice Packrafting Skills
- Paddling Techniques: Familiarize yourself with basic paddling strokes and techniques to maneuver your packraft efficiently.
- Self-Rescue: Practice self-rescue techniques such as re-entering your raft from the water and dealing with capsizes.
- Navigation: Learn how to read the water and navigate using maps, GPS, or other tools.
- If you’re a first-timer, again for safety — consider a good packrafting outfitter like Seattle’s Optimum Adventures to take care of it all for you.
4. Pack Smart and Light
- Minimalist Approach: Bring only essential items to keep your pack light. Prioritize multi-functional gear.
- Distribution: Balance the weight between your backpack and the packraft to ensure stability and comfort during both hiking and paddling.
- Safety Gear: Always carry a first aid kit, repair kit for your raft, and emergency communication device (e.g., satellite phone or PLB).
5. Respect Nature and Leave No Trace
- Environmental Awareness: Be mindful of the impact you have on the environment. Stick to established trails and campsites when possible.
- Waste Management: Pack out all your trash, including biodegradable items. Follow Leave No Trace principles to minimize your impact on the natural surroundings.
- Wildlife: Respect wildlife by keeping a safe distance and not disturbing their habitats.
By following these tips, you can ensure a safer and more enjoyable packrafting experience, allowing you to fully immerse yourself in the adventure while minimizing risks and environmental impact.
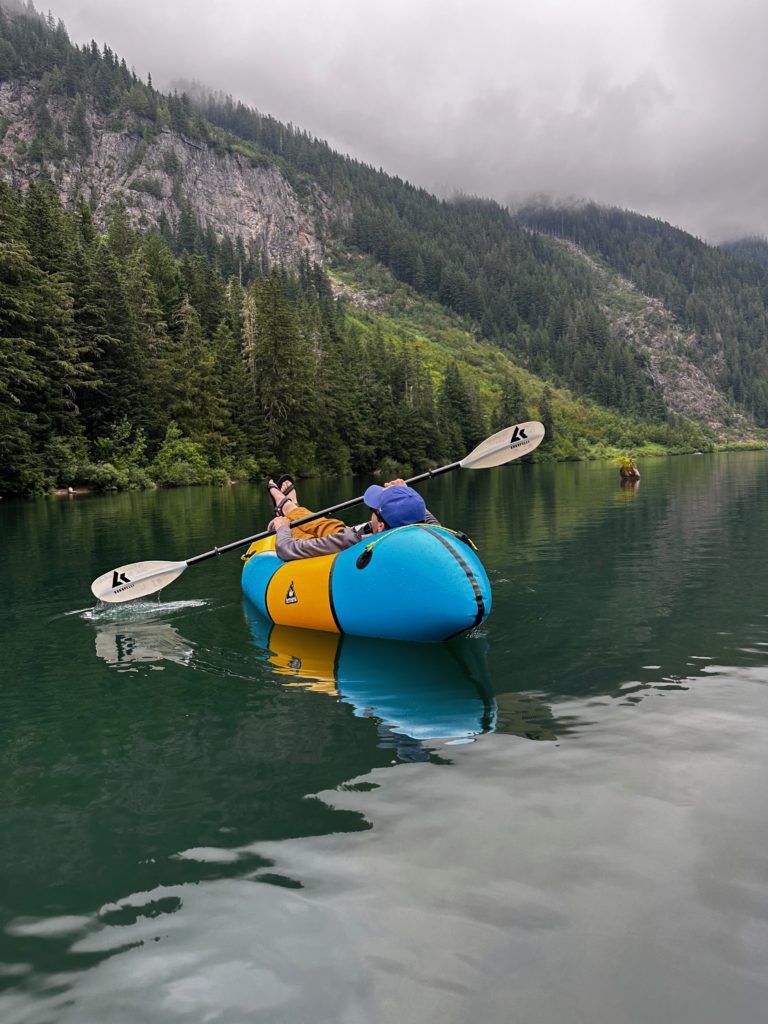
What a wonderful time!

Want to travel to the far side of the lake and scramble up the rocks, or bush-whack a new trail? With a packraft, you can.
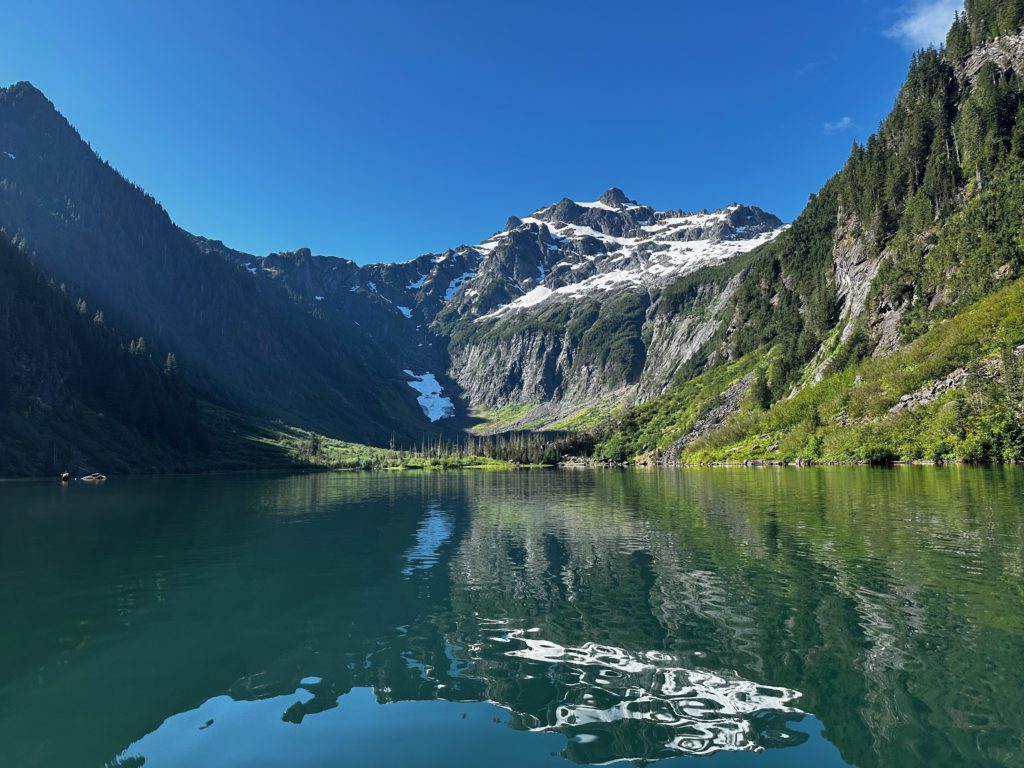
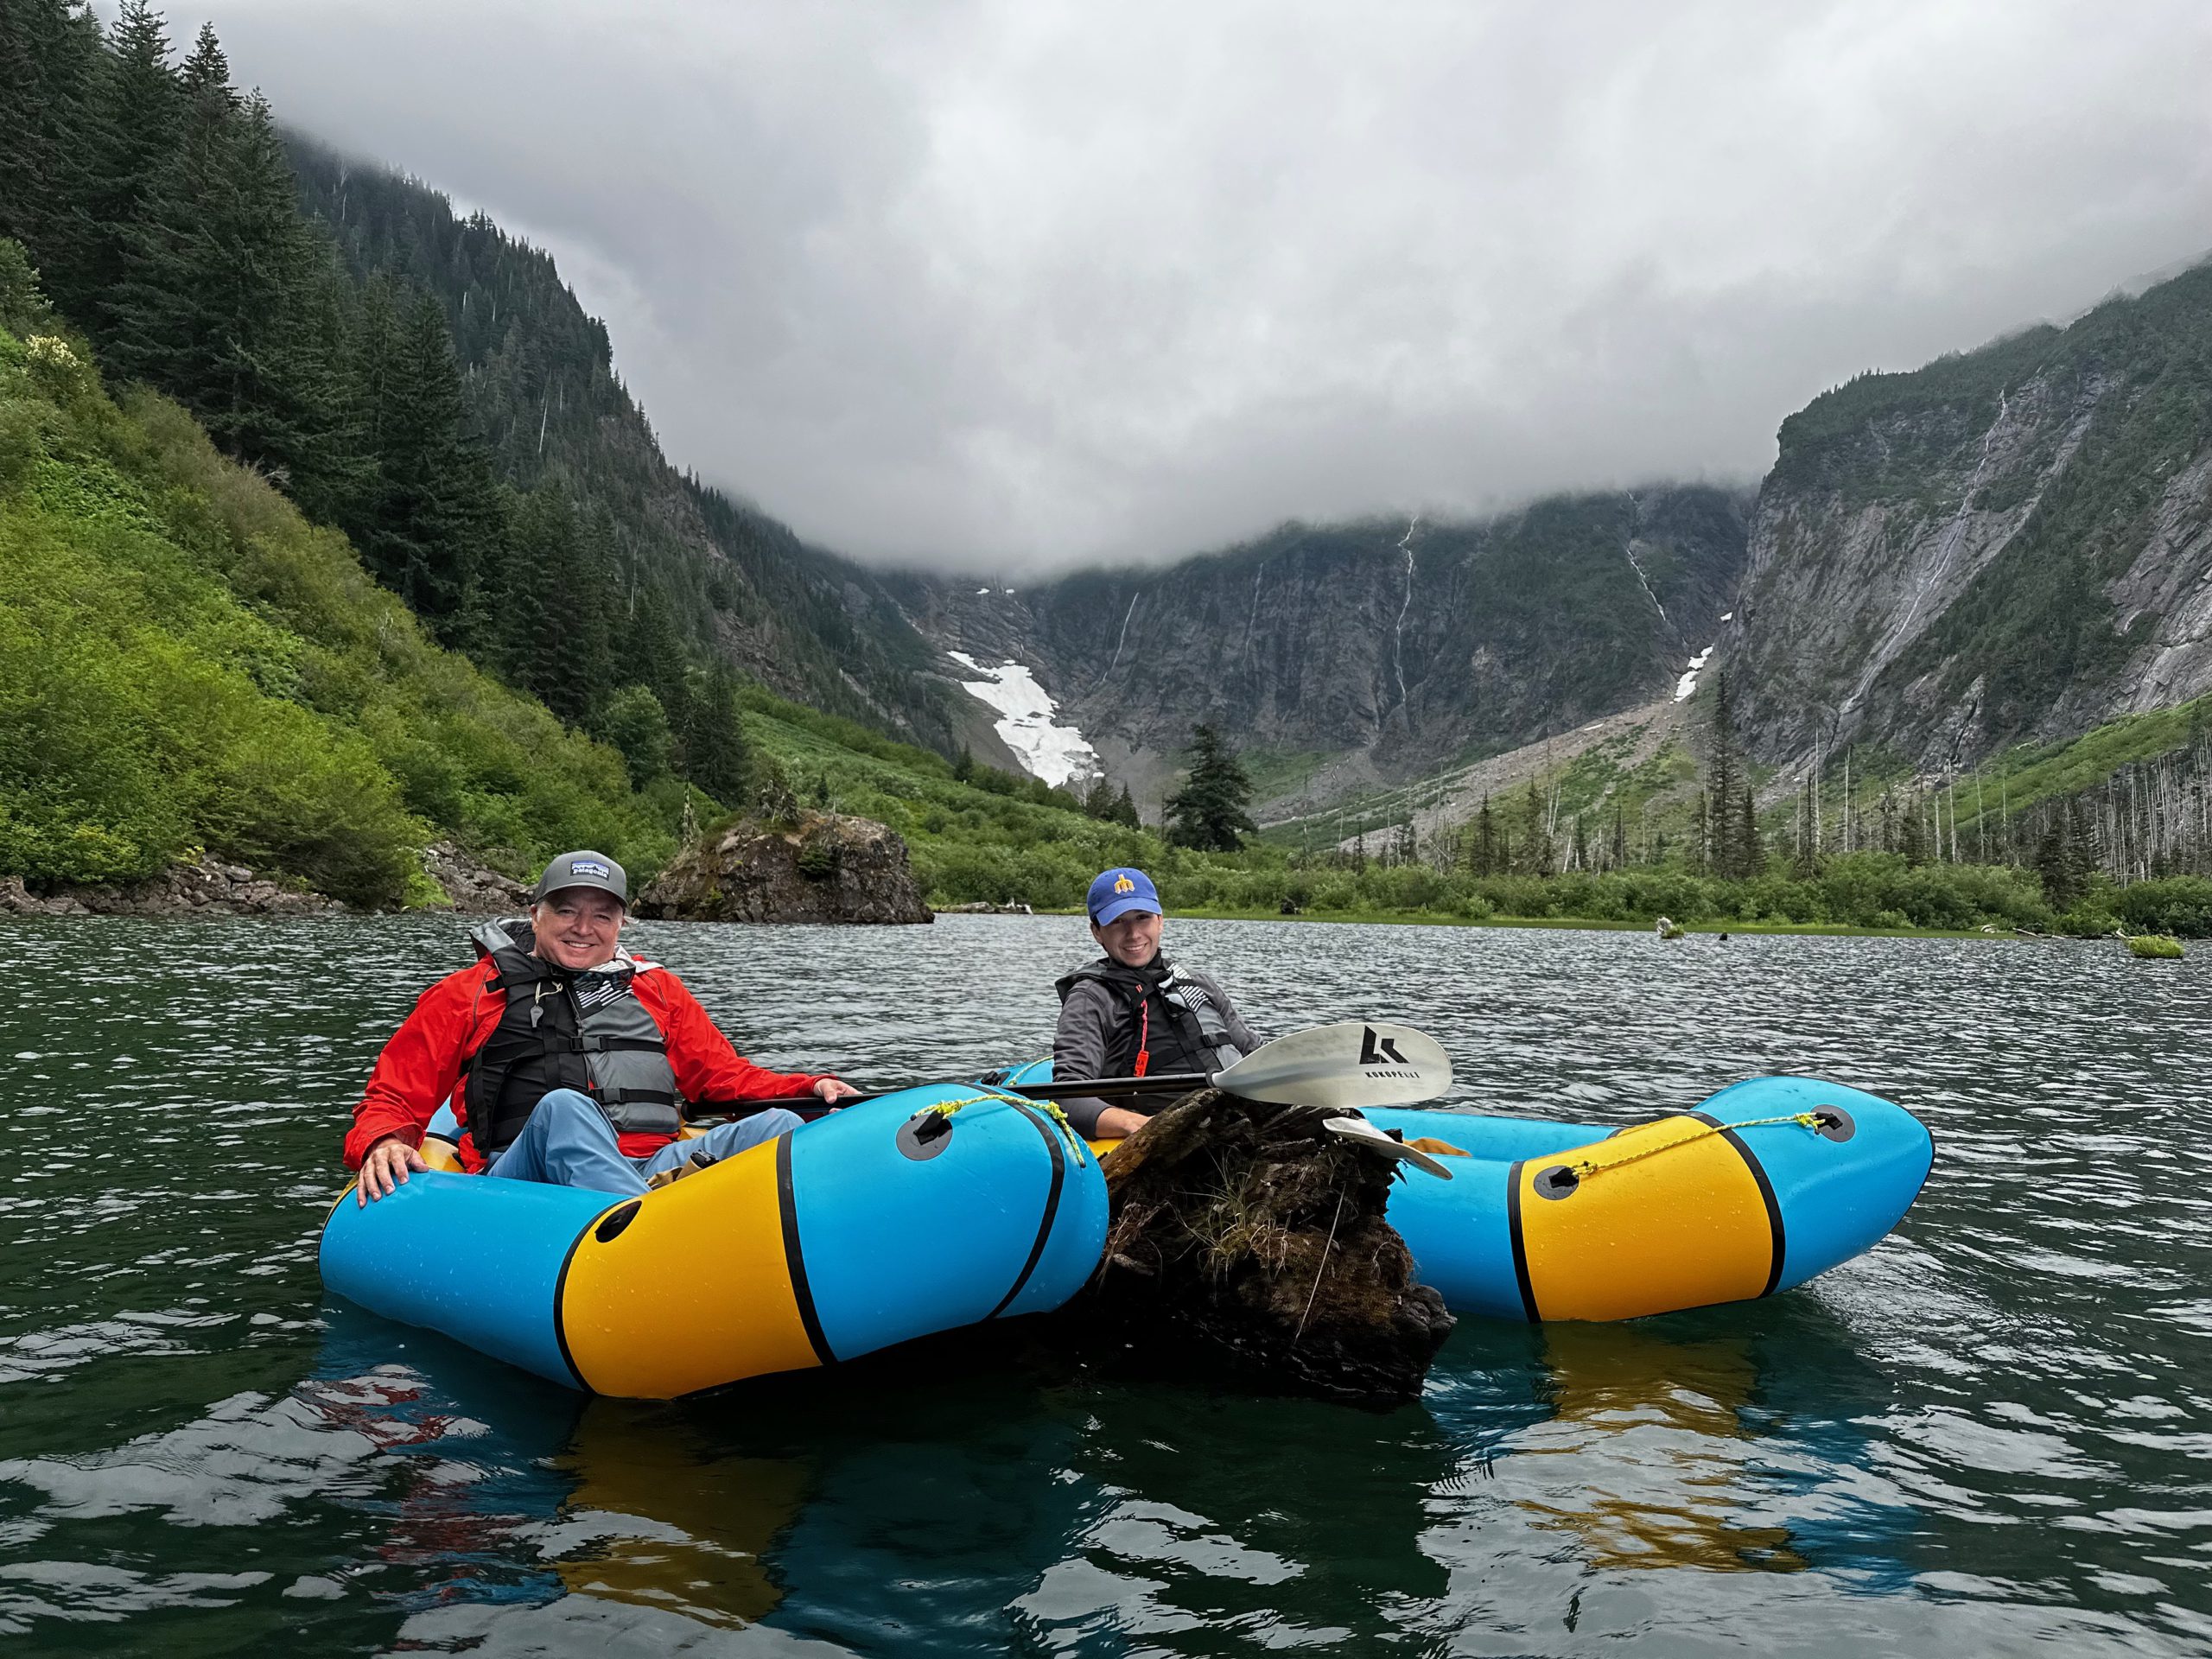
If you’d like an outfitter to take care of all the details, reach out to Adam and team at Optimum Adventures.
Key equipment:
- Packraft
- Paddles
- Personal Flotation Device (PFD) with whistle
- A backpack large enough to carry the packraft and paddles
- Repair kit for your raft
- Tent
- Dry Bag
- Portable, rechargeable Inflator, like this one from FLEXTAILGEAR
We’ve got two new packrafting converts. Get out there!

